How To: Show Featured Vendors in Multi-Vendor
Note
This article applies to Multi-Vendor 4.7.2 and newer versions.
Multi-Vendor allows you to add a special block to showcase your vendors and display their logos, addresses, and ratings.

To add this block:
Go to Website → Themes → Layouts.
Select the layout page where you want to add the block (for example, Homepage).
Add a new block to the desired grid as described in this article.
When adding a block, switch to the Create New Block tab and choose Vendors.
Enter a name for the block (for example, Featured Vendors).
Choose Vendor logos and product count as the Template for the block.
Hint
Click the Settings link to access the additional settings to customize the block’s appearance.
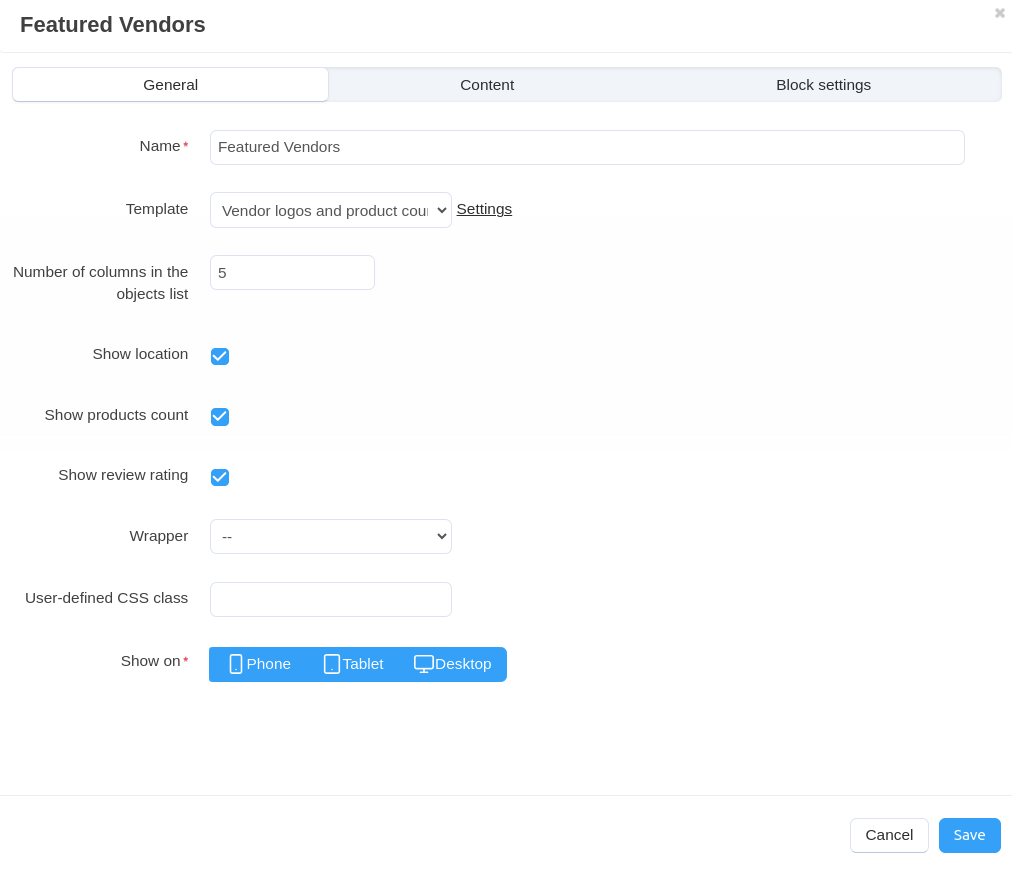
Switch to the Content tab and choose the Filling of the block. You can either display All vendors, or Manually select which vendors to display.
Switch to the Block settings tab and specify the number of vendors to display. If you don’t want to limit the number of vendors displayed, set it to 0 (zero) or leave the field empty.
Click Create, and the block will appear.
Hint
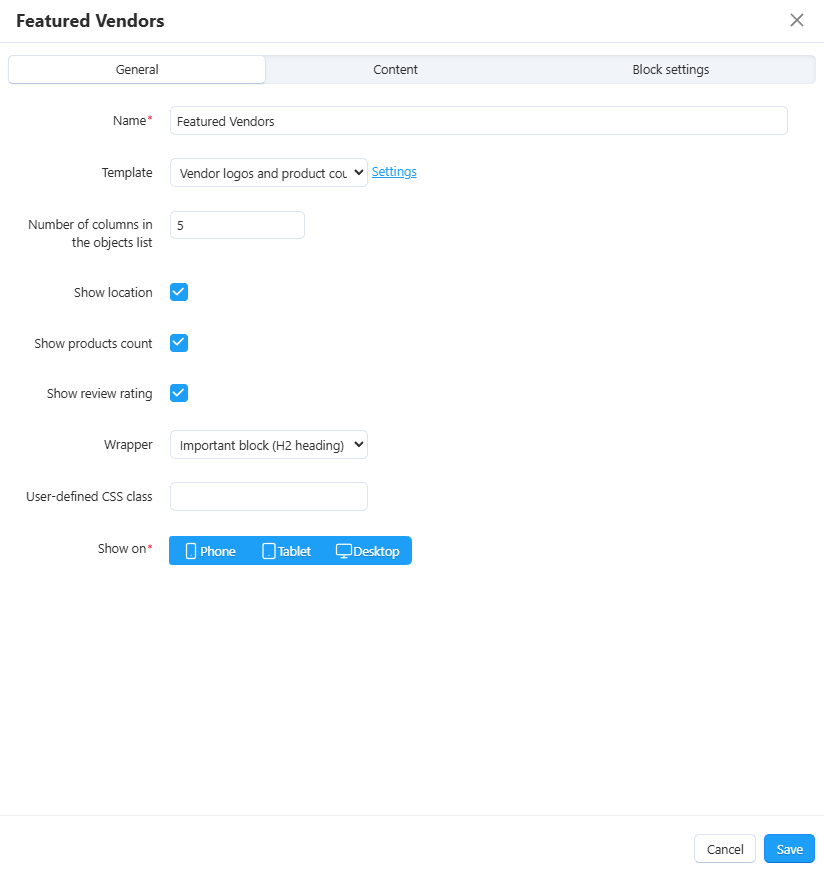
Once you create the block, open its settings again, and you can further customize the block’s appearance by selecting a wrapper or specifying a CSS class for the block.
Questions & Feedback
Have any questions that weren't answered here? Need help with solving a problem in your online store? Want to report a bug in our software? Find out how to contact us.